


Summer Recipes
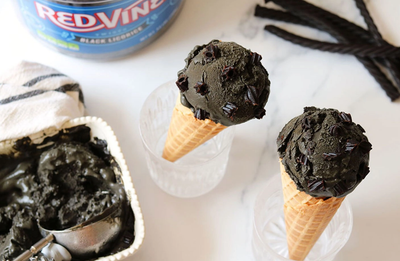
Red Vines Salted Black Licorice Ice Cream
Black licorice lovers rejoice! Learn how to turn your favorite Red Vines Black Licorice Twists into a delicious ice cream treat.
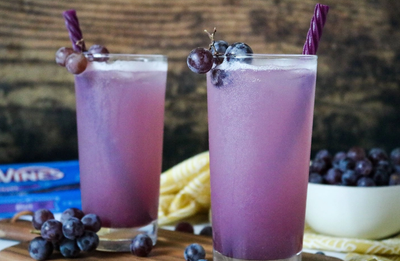
Red Vines Homemade Grape Soda Recipe
Looking for a refreshing alternative to store-bought sodas? Try making your own soda with Grape Vines as an accent straw. It doesn’t get much sweeter than this!
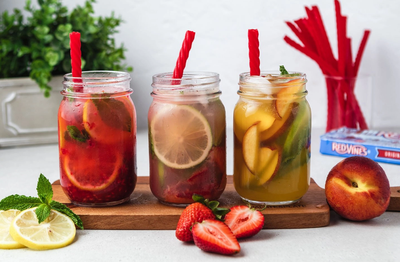
Red Vines No-Jito Flight Recipe
Kick up your feet and cool off with the Red Vines No-Jito Flight. Simple and sweet, this summer sipper can’t be beat!
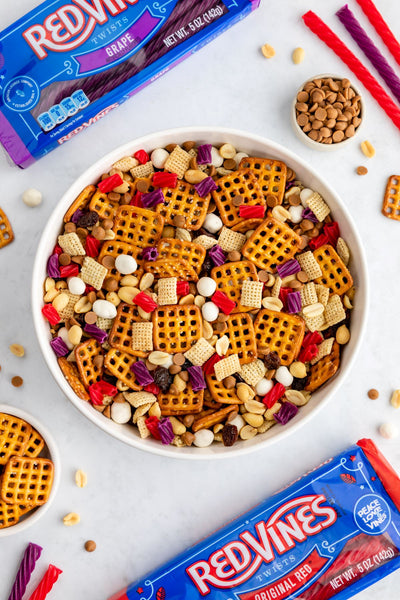
Red Vines PB&J Party Mix Recipe
What's better than a poolside PB&J, you ask? A PB&J Party Mix that can be enjoyed anywhere, any time! Featuring Red Vines Original Red Licorice and Grape Licorice Twists, you can't go wrong with this mashup of sweet and salty flavors.

Sour Punch American Flag Cake Recipe
Red, white, blue, and tasty as can be! This American Flag Cake features Sour Punch Blue Raspberry Bites as the stars atop your favorite kind of cake (the batter choice is yours)!
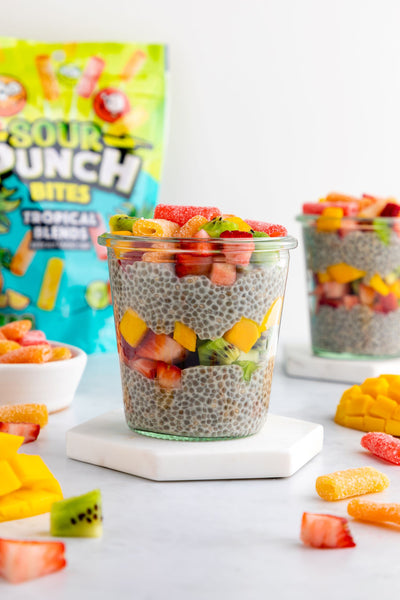
Sour Punch Tropical Chia Pudding Parfait Recipe
Fresh fruit flavors and tropical vacation vibes make up these Tropical Chia Pudding Parfaits! Inspired by Sour Punch Tropical Bites, you don't want to miss this tasty summertime treat.
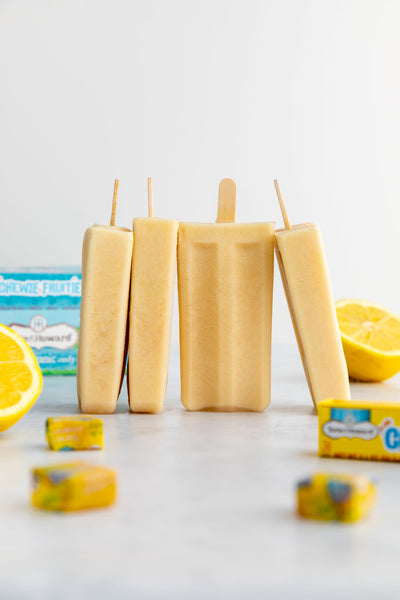
Torie & Howard Lemonade Popsicles Recipe
Refreshing and sweet (but not too sweet), these Lemonade Popsicles featuring Torie & Howard Lemon & Raspberry Chewie Fruities are the ideal treat on a warm summer's day.
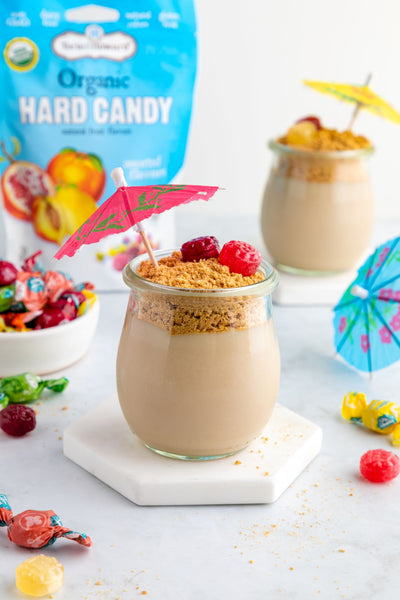
Torie & Howard Beach Pudding Cups Recipe
Perfect for summer or vacay, these Beach Pudding Cups feature Torie & Howard Organic Hard Candies as beach balls. Trust us, you want to give this deliciously fun recipe a try!
Recipes & Crafts

Red Vines Reindeer Treat Bags Holiday Craft
This Reindeer Treat Bag holiday craft is a fun excuse to gather the elves and enjoy a day of crafting before the holidays. Featuring Red Vines twists as the reindeer nose, be sure to snack merrily along the way!
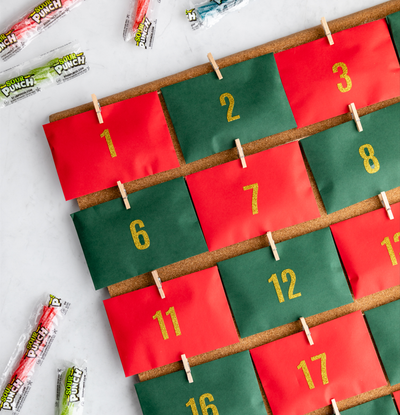
Sour Punch Advent Calendar Craft
Let the countdown begin! This easy advent calendar craft features Sour Punch Twists as the bright & fruity treat you get to eat throughout the countdown. Happy holidays!
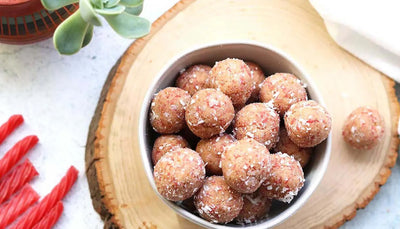
Red Vines Made Simple Coconut Berry Bliss Bites Recipe
A better-for-you, no bake treat made from simple, clean ingredients. Easy to make, even easier to eat them all! Get your boost of delicious berry and coconut flavors.

Sour Punch Funnel Cake Recipe
This recipe puts the "fun" in Funnel Cake! Gather your ingredients and prepare for a spunky springtime indulgence featuring SOUR PUNCH Easter Bites.
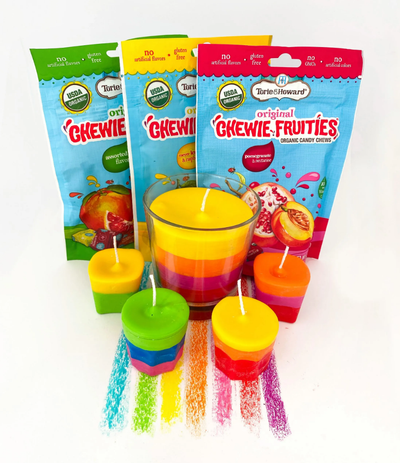
Crayon Candle Craft
Colorful, creative, aesthetically pleasing, and FUN to make! This cool crayon craft is inspired by the vibrant colors of our Torie & Howard Organic Candy packaging.
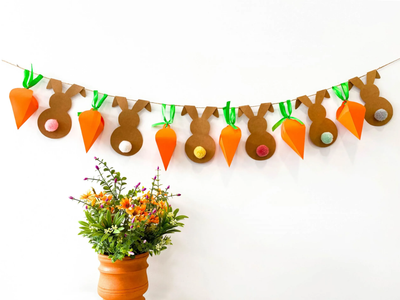
Easter Garland Craft
Looking for a fun way to enhance your Easter season? Gather your besties or kiddos and dive into this Easter Garland Craft featuring super cute carrots and bunnies (and Torie & Howard organic candy)!

Lei Craft
Oh hey, check out this candy lei! This lei craft is simple, beautiful, and even edible. Grab the supplies you need and have a blast creating with your friends or kiddos!